Why Is Constructability Analysis Important for Industrial Projects?

What Is Constructability Analysis?

Constructability analysis is a structured review of project plans, designs, site conditions, and construction methods to determine how efficiently a project can be built. In practice, this is the constructability review many owners seek when they ask, what is a constructability review and how does it reduce risk? It is a key element of constructability on complex jobs.


The process brings together:

  • Designers
  • Engineers
  • Construction professionals
  • Operations personnel
  • Project stakeholders


The goal is to identify potential issues before construction begins and incorporate practical field knowledge into project planning.

Rather than asking, "Can this facility be designed?", constructability analysis asks, "Can this facility be built safely, efficiently, and cost-effectively?" The benefits of constructability analysis grow when this question is posed early and often.


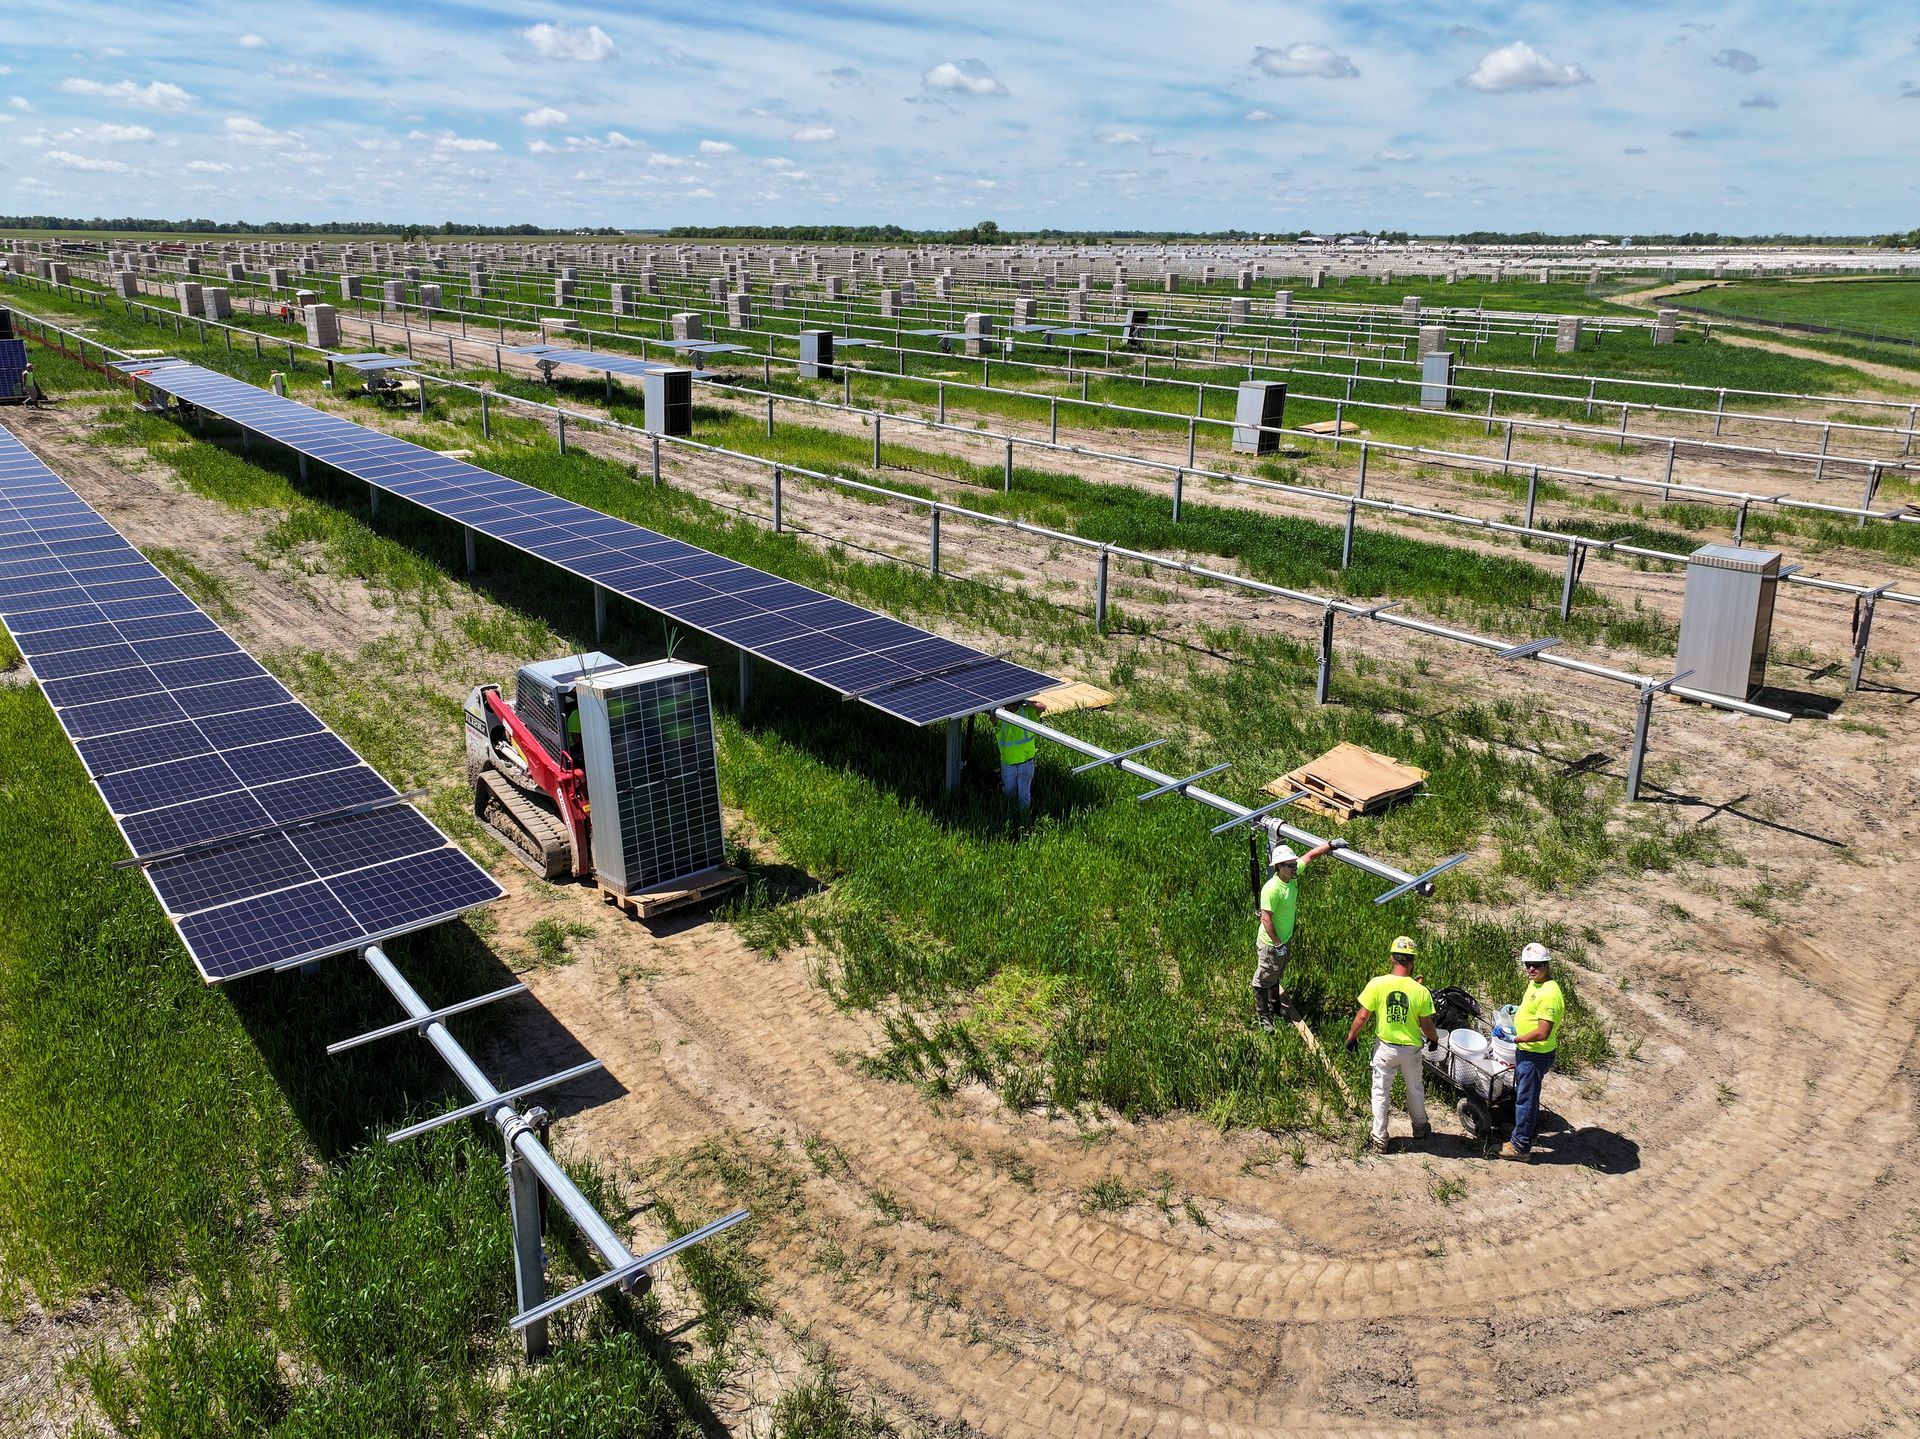
Why Industrial Projects Benefit From Constructability Analysis

Industrial projects often involve:

  • Complex process systems
  • Utility infrastructure
  • Specialized equipment
  • Active operating facilities
  • Tight schedules
  • Significant capital investments


Because of this complexity, even small design decisions can have major impacts on construction performance. Early constructability reviews help project teams identify risks before they become costly field problems, illustrating the core benefits of constructability analysis on large, technical builds.


Improves Cost Certainty

One of the primary benefits of constructability analysis is improved budgeting and cost control.


During reviews, teams may identify:

  • Design conflicts
  • Material inefficiencies
  • Access challenges
  • Equipment installation concerns
  • Utility coordination issues


Addressing these items during design is typically far less expensive than resolving them during construction.


Constructability analysis can help reduce:

  • Change orders
  • Rework
  • Schedule-driven cost increases
  • Procurement issues


Optimizes Project Schedules

Industrial projects often involve long-lead equipment, complex sequencing, and coordination across multiple trades.


Constructability reviews can help teams:

  • Improve construction sequencing
  • Identify critical path risks
  • Coordinate procurement schedules
  • Evaluate temporary works requirements
  • Reduce workflow conflicts


Early planning often creates a more predictable construction schedule, a hallmark of effective constructability for complex jobs.


Enhances Safety Planning

Safety considerations are often easier to address during design than during active construction.


Constructability analysis allows teams to evaluate:

  • Access requirements
  • Crane operations
  • Confined spaces
  • Heavy lifts
  • Work-at-height conditions
  • Equipment installation methods


Incorporating safety considerations early can reduce field risks and improve project execution.


Improves Equipment Installation Planning

Industrial facilities frequently include large, specialized equipment that must be delivered, staged, installed, and commissioned.


Constructability reviews may evaluate:

  • Transportation routes
  • Crane access
  • Installation sequencing
  • Equipment clearances
  • Future maintenance access


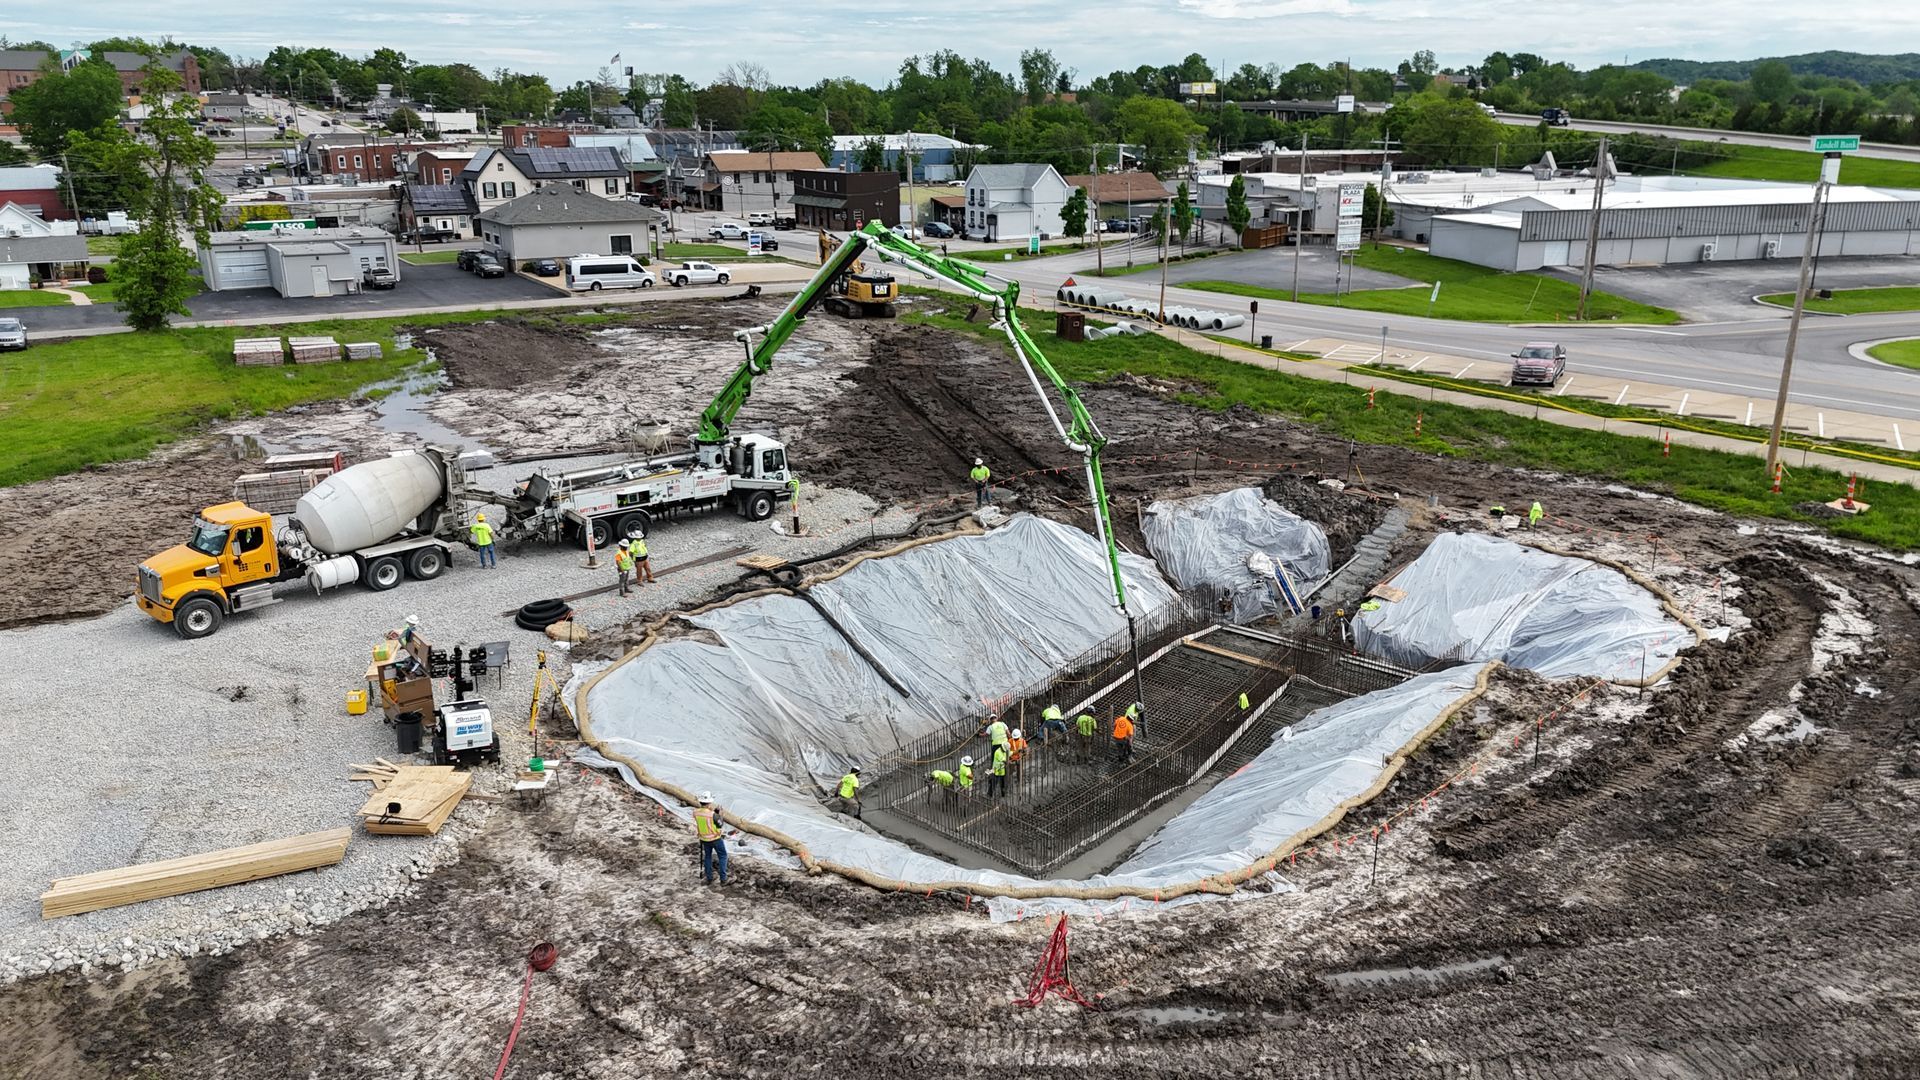
These considerations are especially important in manufacturing, energy, and process facility construction.


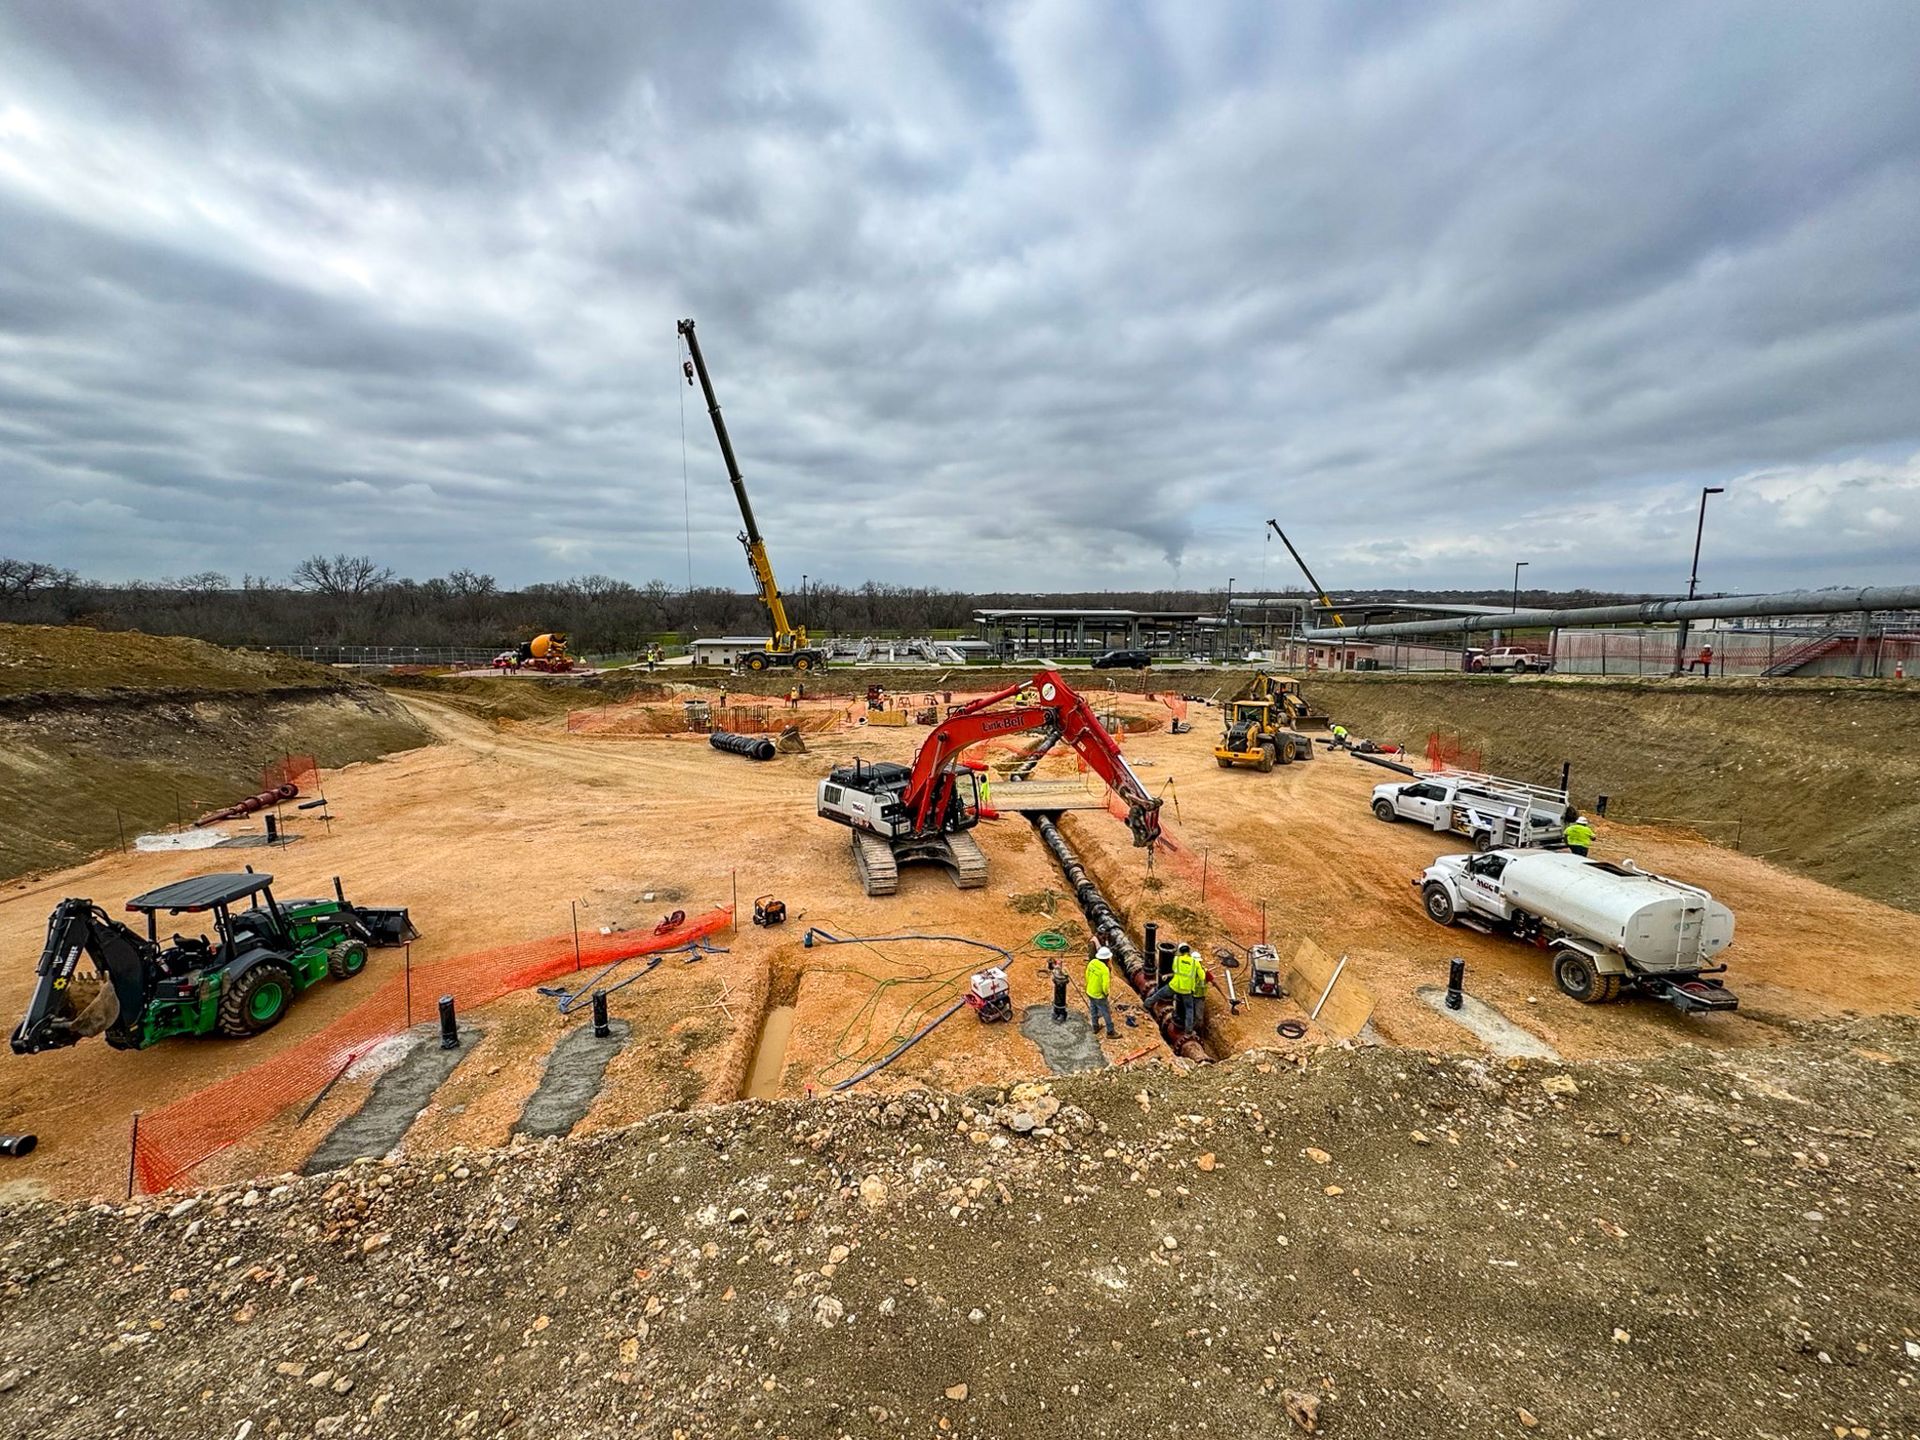
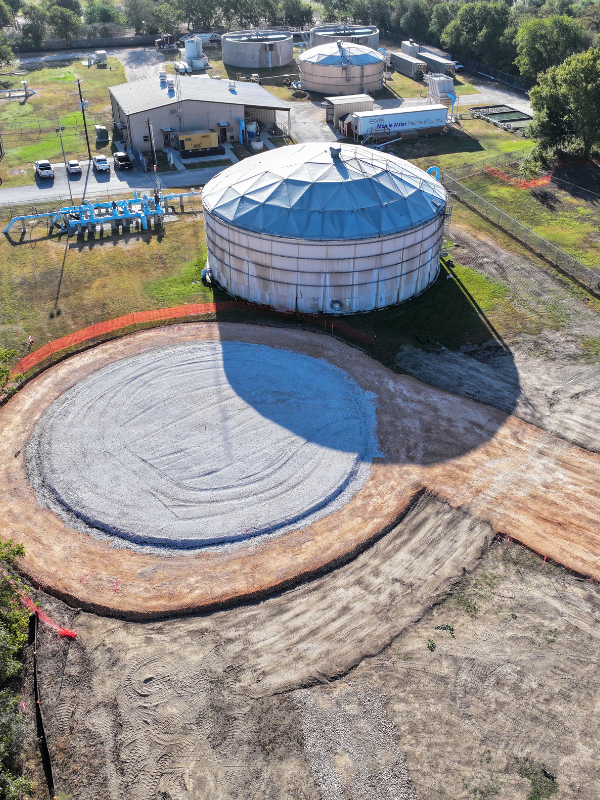
Identifies Utility and Infrastructure Conflicts

Many industrial projects involve extensive utility infrastructure.


Constructability teams often review:

  • Underground utilities
  • Electrical systems
  • Process piping
  • Water infrastructure
  • Wastewater systems
  • Communication systems


Identifying conflicts before construction begins can help avoid costly field modifications.


Supports Construction in Active Facilities

Many industrial projects occur within operating facilities that must remain functional throughout construction.


Constructability analysis can help address:

  • Shutdown planning
  • Operational continuity
  • Utility tie-ins
  • Safety separation requirements
  • Production impacts


This is particularly important for manufacturing plants, food processing facilities, and utility infrastructure projects.


Common Areas Evaluated During Constructability Reviews

A comprehensive constructability analysis may examine key aspects of constructability for efficiency and safety.


Site Conditions

  • Access constraints
  • Soil conditions
  • Existing infrastructure
  • Environmental considerations
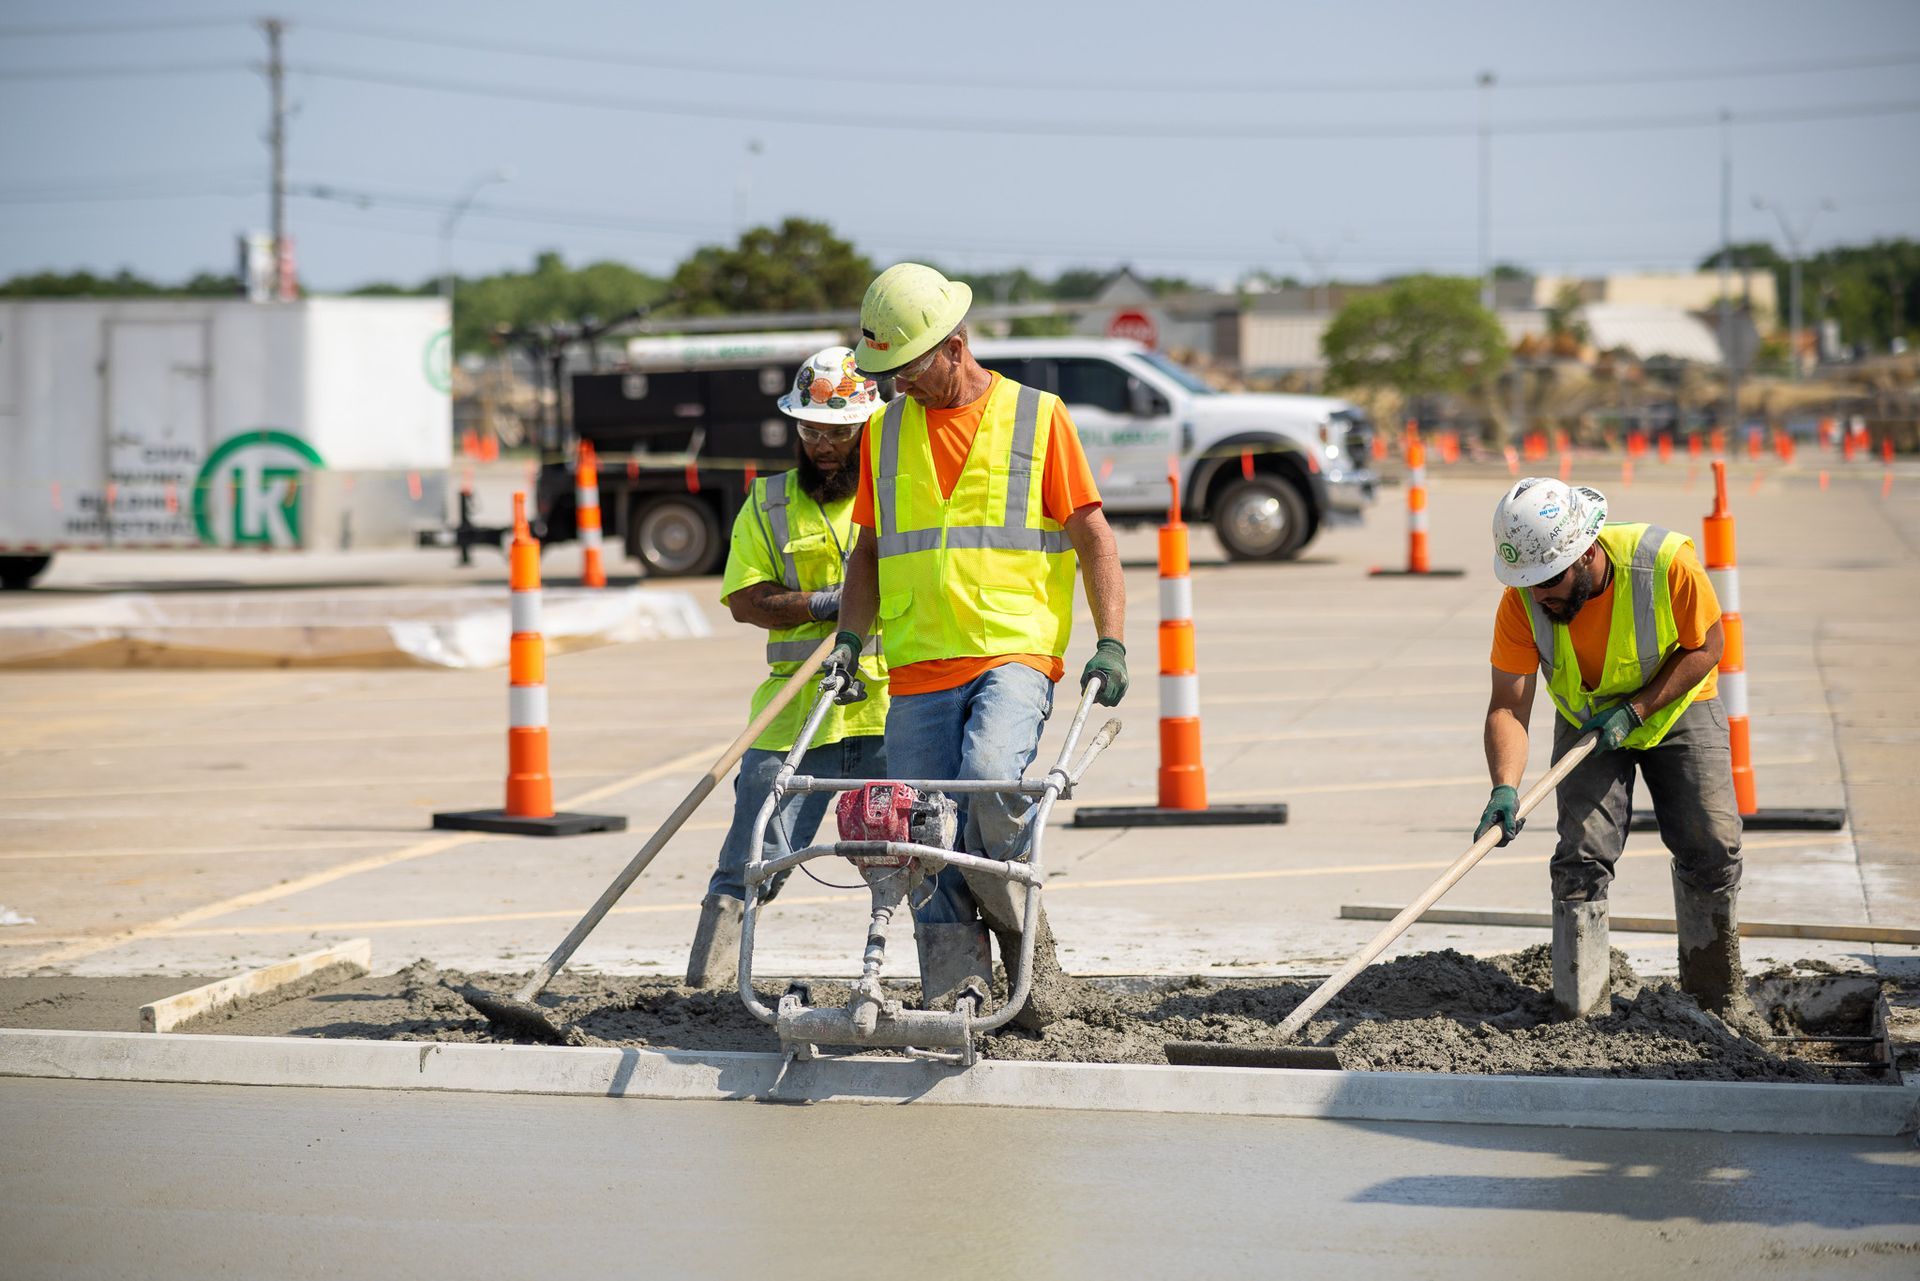
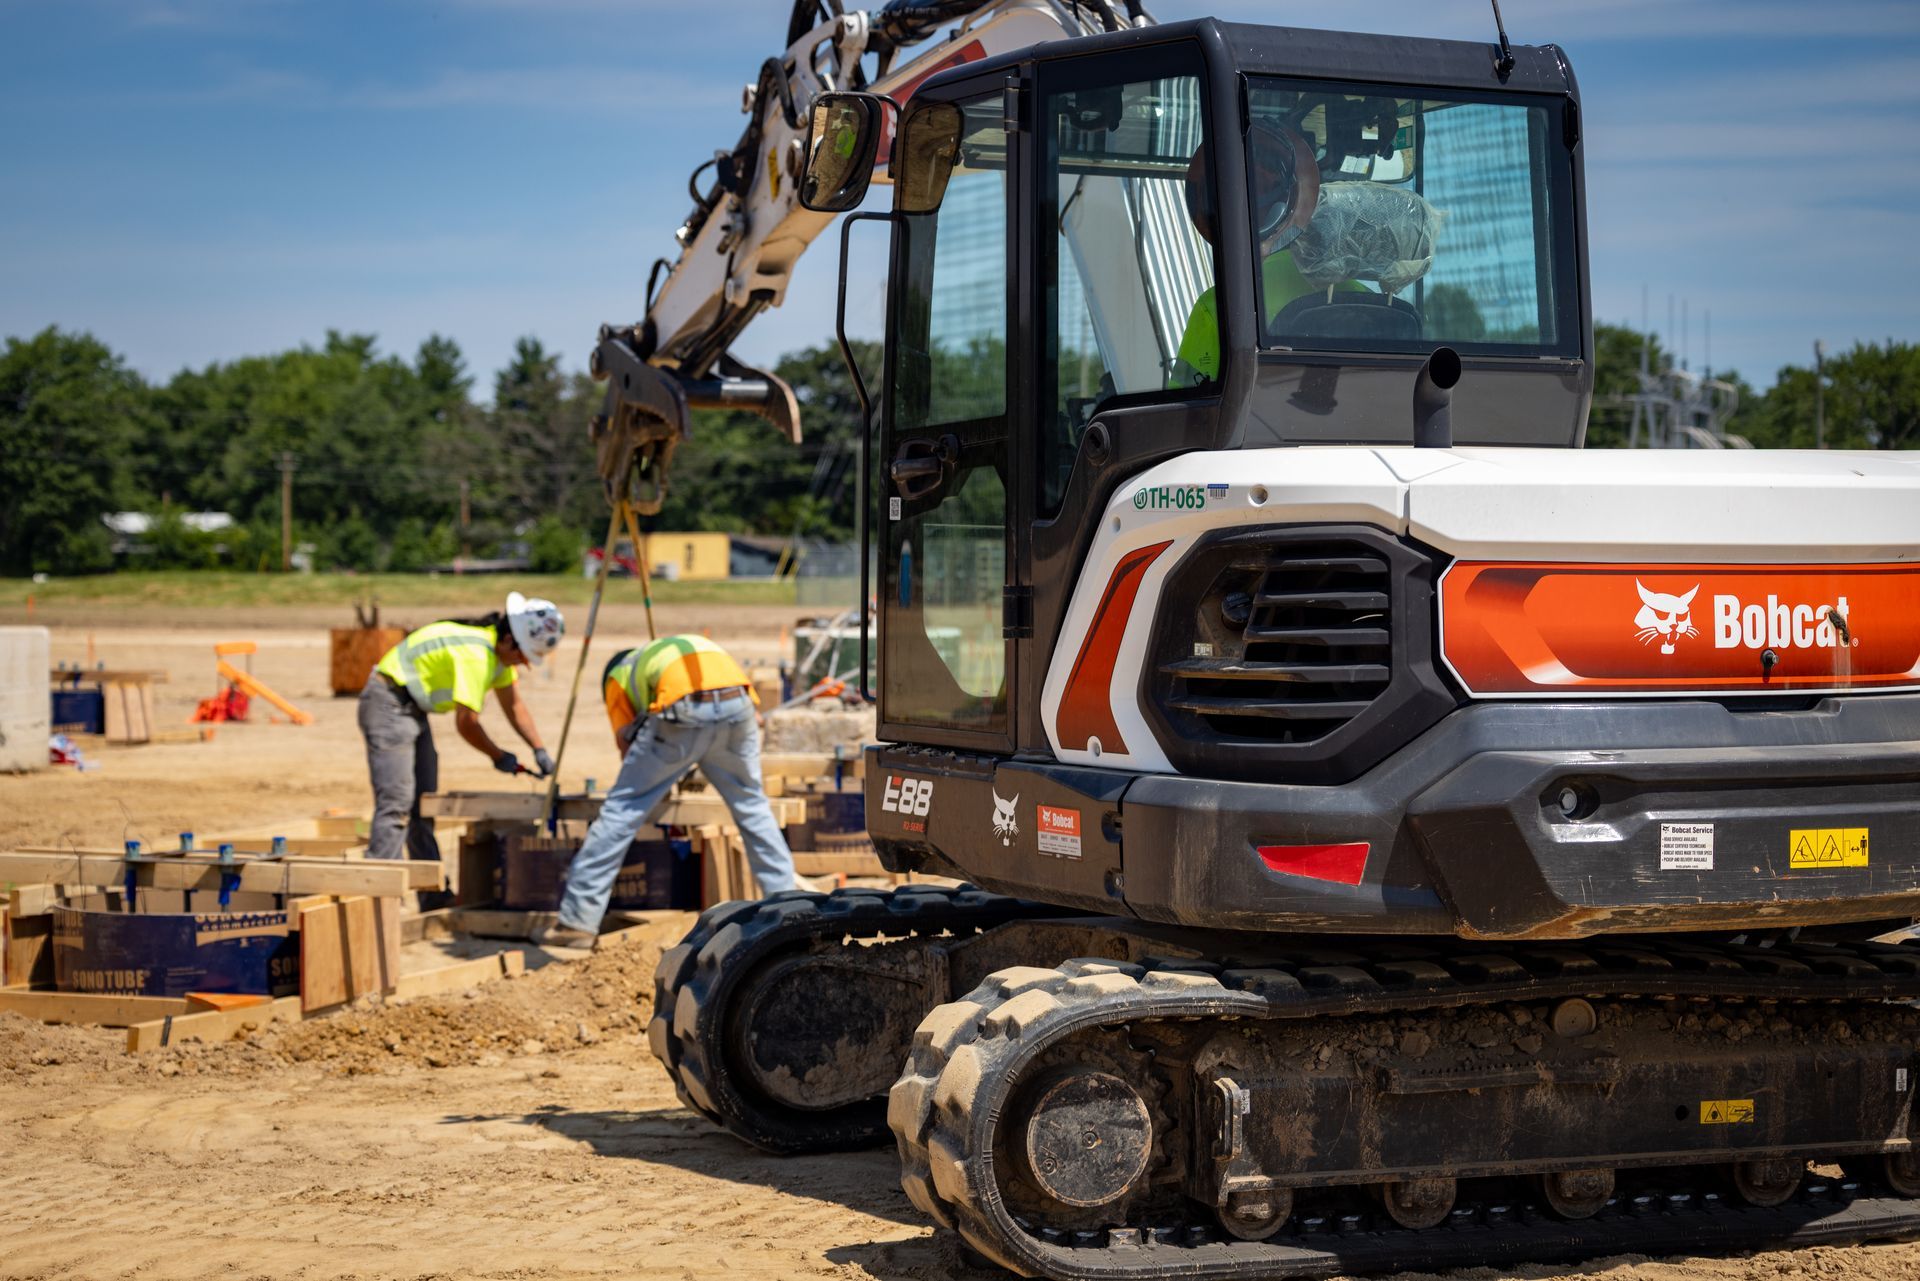

Civil Construction

  • Grading requirements
  • Utility installation
  • Drainage systems
  • Foundation construction
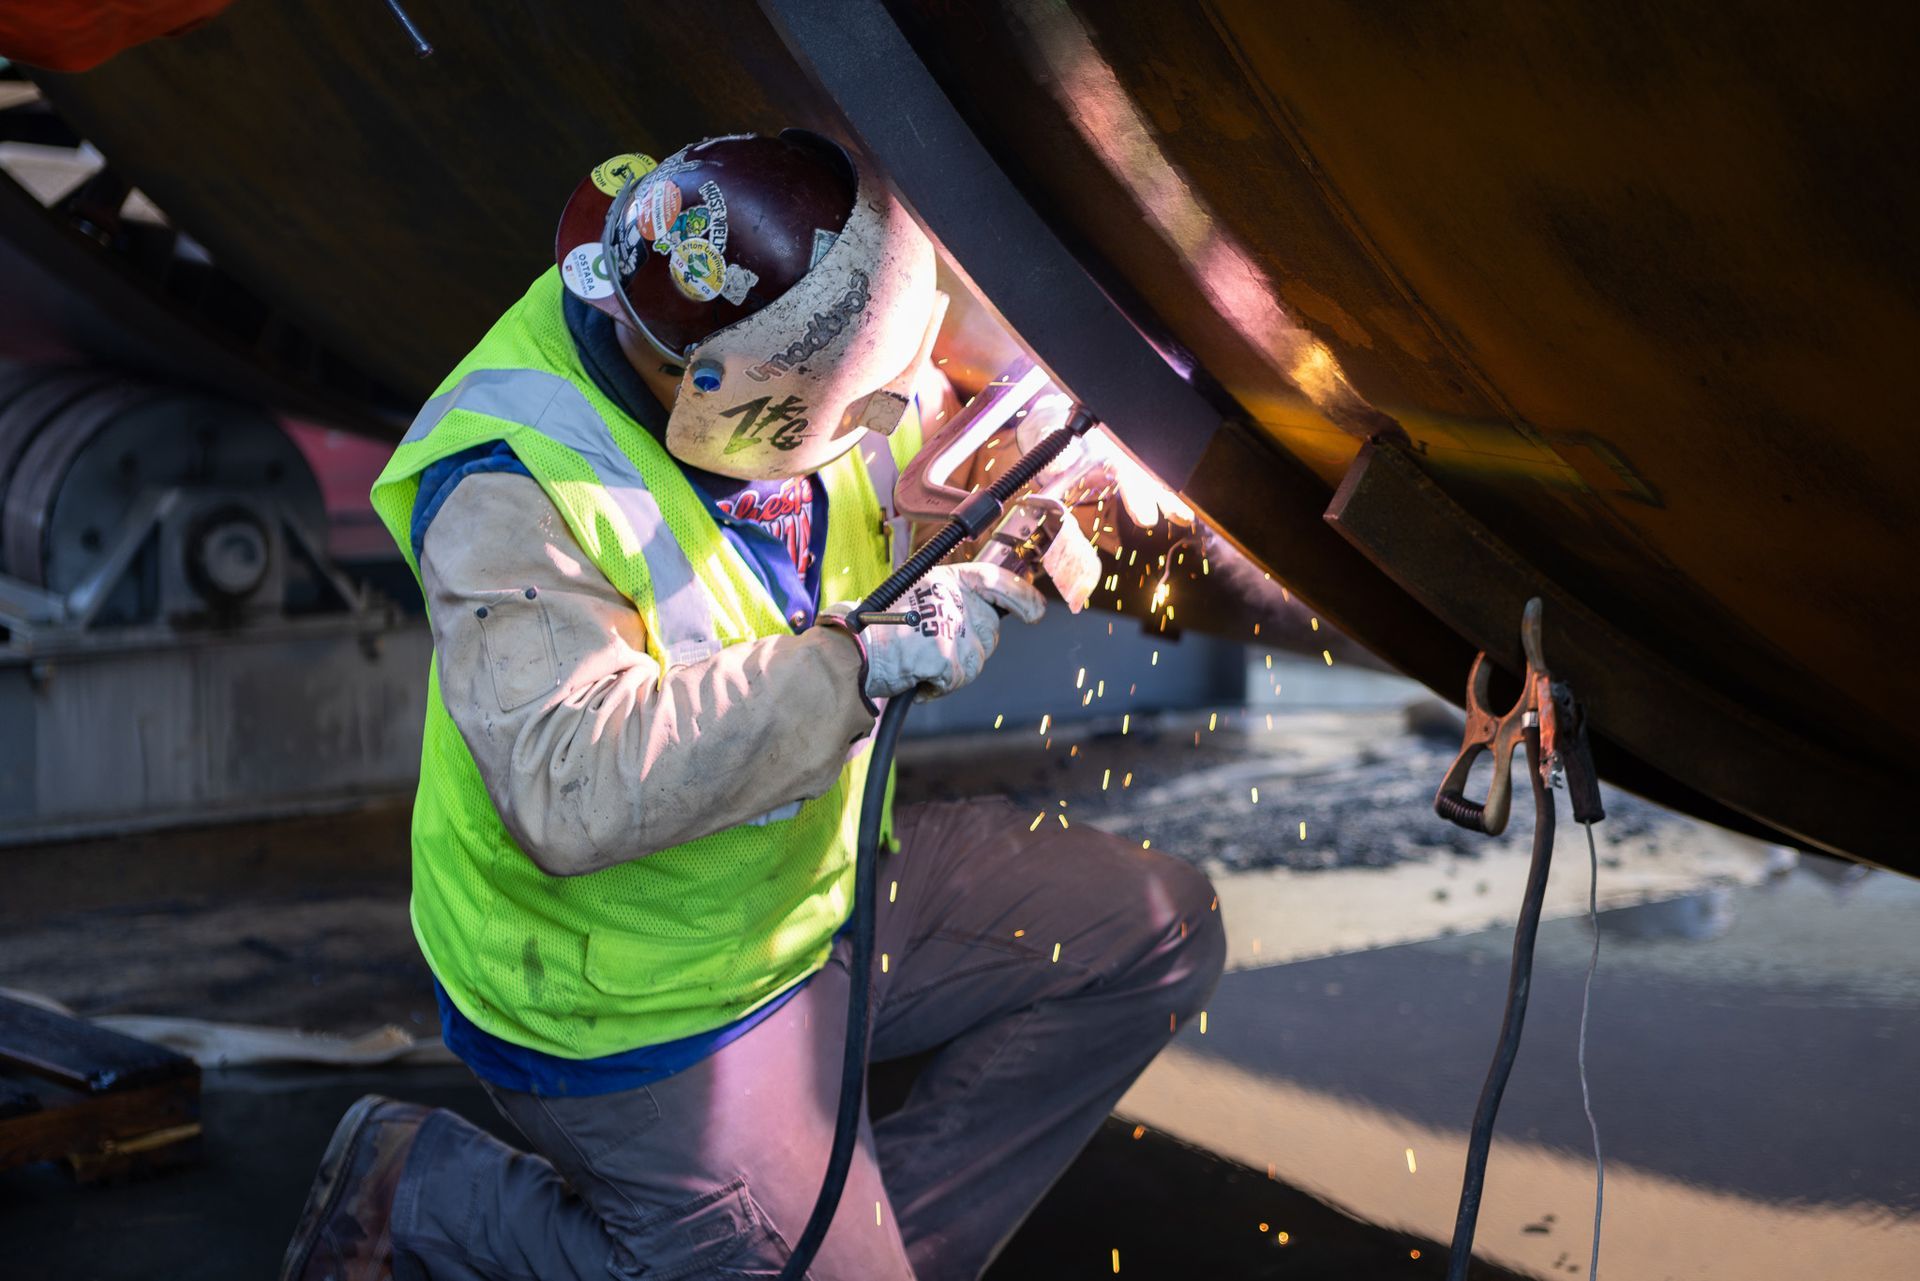

Structural Systems

  • Steel erection sequencing
  • Concrete placement strategies
  • Equipment support structures


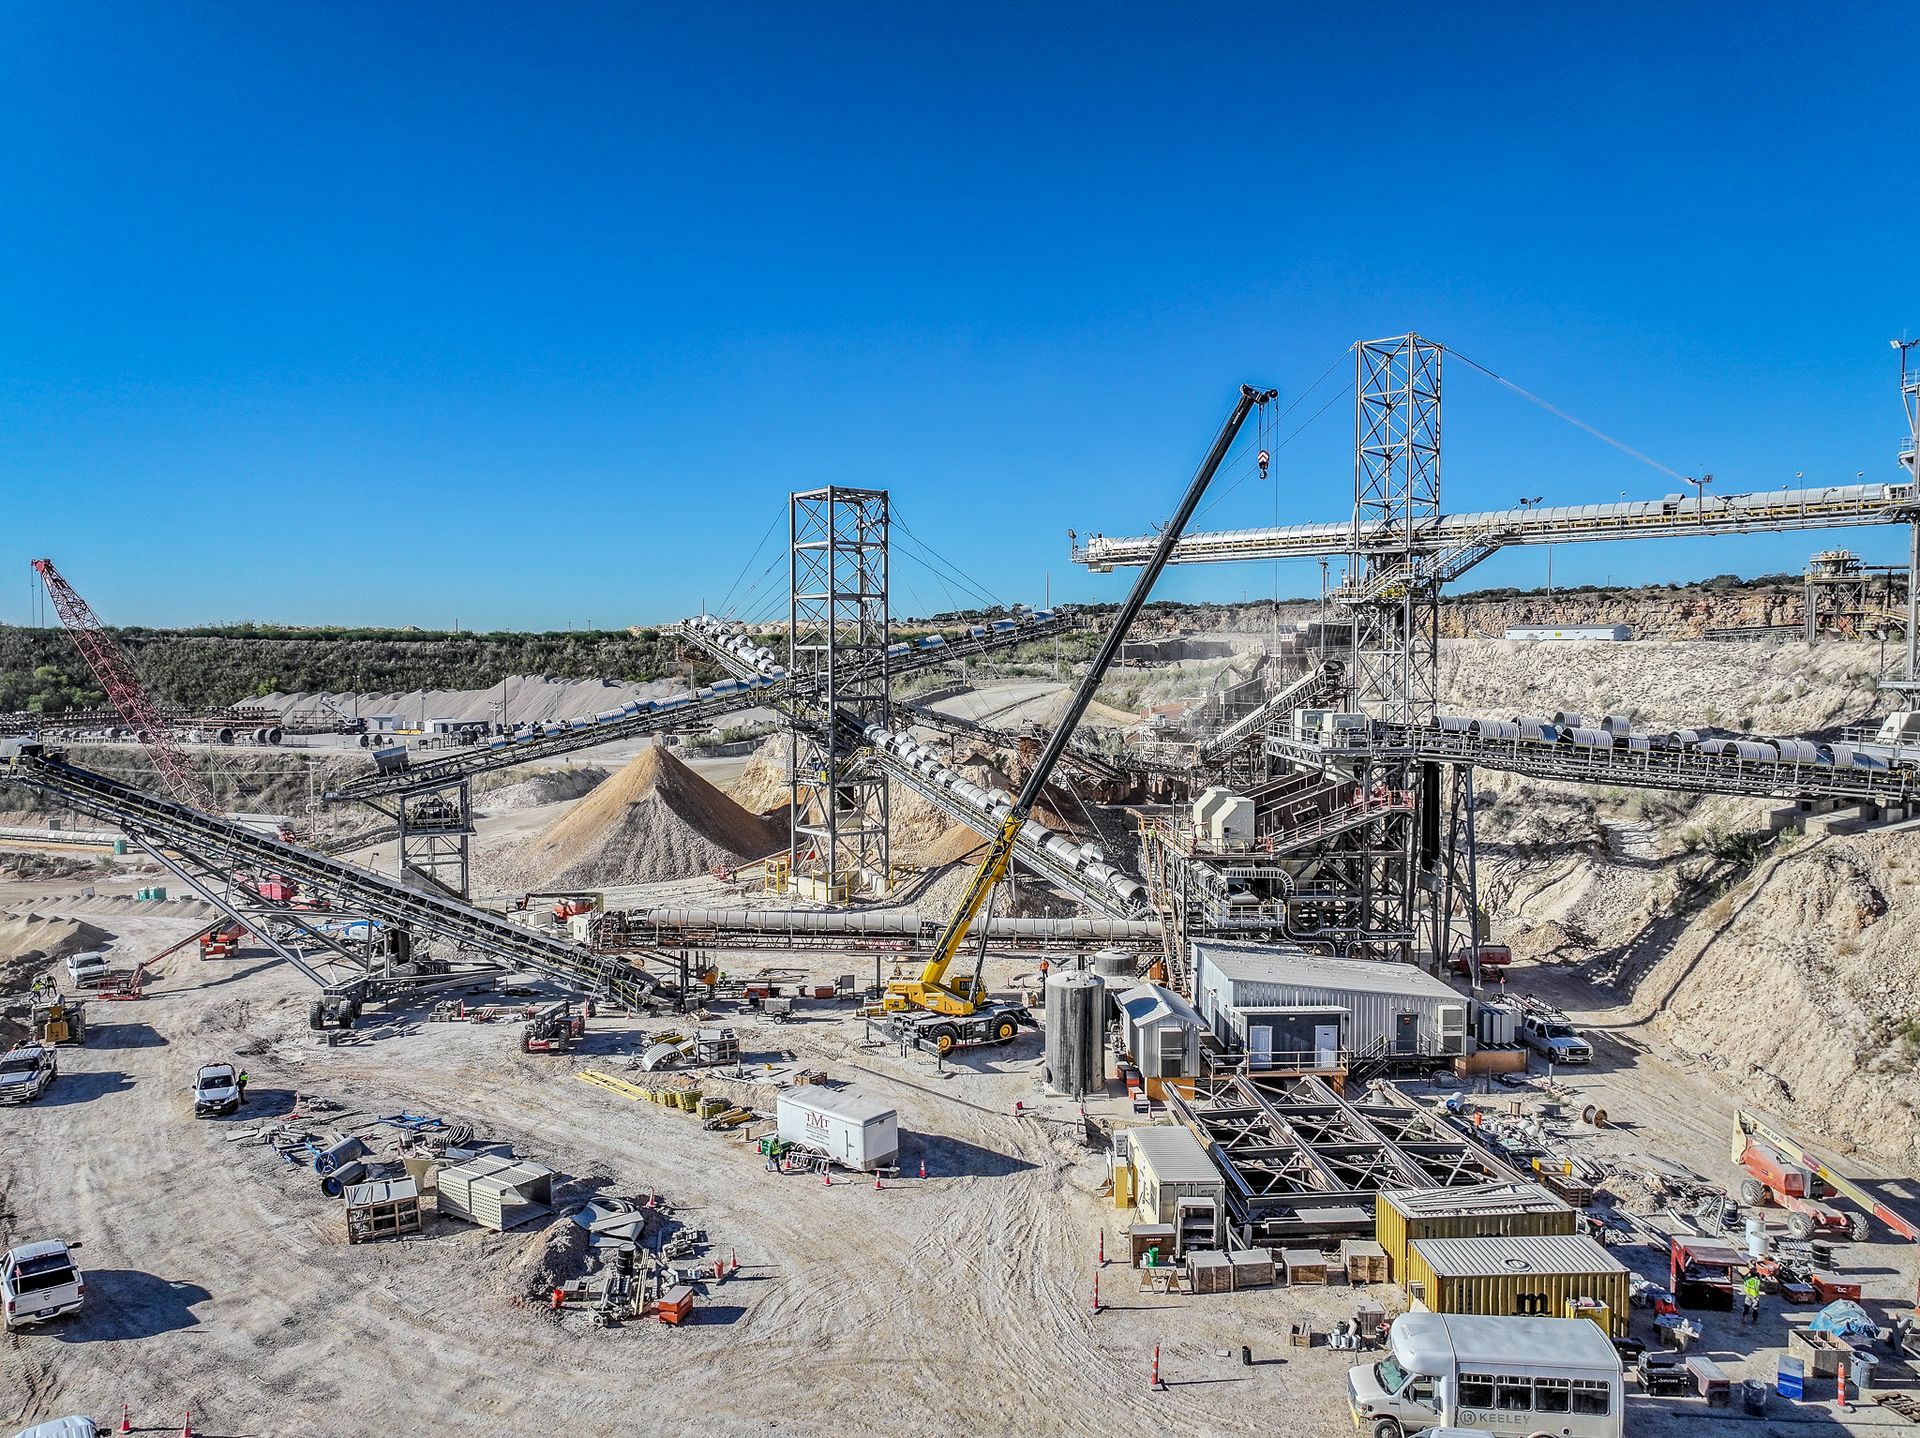
Mechanical and Process Systems

  • Piping layouts
  • Equipment access
  • Installation sequencing
  • Maintenance requirements


Electrical Infrastructure

  • Utility coordination
  • Cable routing
  • Substations
  • Control systems


The goal is to evaluate how all systems interact during construction through a disciplined constructability review.


Frequently Asked Questions

When should constructability analysis occur?

Constructability reviews are most valuable during planning and design, before major construction activities begin. Early-stage constructability analysis for industrial projects helps lock in the benefits of constructability analysis when changes are cheaper.


Does constructability analysis reduce project costs?

While it does not eliminate all risks, constructability analysis often helps identify inefficiencies and conflicts that could increase costs later. This is a core reason why constructability analysis for industrial projects is widely adopted.


What types of projects benefit most from constructability reviews?

Industrial facilities, water treatment plants, manufacturing projects, energy infrastructure, utility systems, and other technically complex projects often see significant benefits from a structured constructability review.


Building Industrial Projects More Efficiently

Industrial construction projects involve substantial investments, complex systems, and demanding schedules. Constructability analysis for industrial projects provides a practical way to bridge the gap between design intent and field execution, helping project teams identify risks before they affect cost, schedule, or safety.


By incorporating construction expertise early and evaluating how a facility will actually be built through a formal constructability review, owners can create a stronger foundation for project success and improve outcomes from planning through commissioning. In short, when teams ask what is a constructability review and implement it effectively, they realize the full benefits of constructability analysis on complex capital projects.


By Sofia Wojtal June 3, 2026
Why ADA Compliance Matters ADA-compliant parking lots help ensure individuals with disabilities can safely access businesses and facilities. Compliance can help: Improve accessibility for customers and employees Reduce legal risk Support inclusive access Improve overall site usability Parking lot accessibility requirements apply to most public accommodations, commercial facilities, and many business properties. How Many ADA Parking Spaces Are Required? The number of accessible parking spaces depends on the total number of spaces in the parking facility. If you’re wondering how many ADA parking spaces required for your site, use the minimum counts below as a guide. Under the ADA: Total Parking SpacesMinimum Accessible Spaces 1–25:1 26–50:2 51–75:3 76–100:4 101–150:5 151–200:6 201–300:7 301–400:8 401–500:9 For parking facilities with more than 500 spaces, the ADA uses percentage-based calculations. Additionally, at least one out of every six accessible spaces must be van-accessible. When determining how many ADA parking spaces required, remember to include van-accessible spaces in your totals for ada parking lots. Accessible Parking Space Dimensions ADA parking space dimensions ensure vehicles with mobility devices have adequate room to park and deploy ramps and lifts. Following ADA parking space dimensions is essential for both standard and van-accessible stalls in ada parking lots. Standard Accessible Spaces Standard accessible spaces must: Be at least 96 inches (8 feet) wide Include an adjacent access aisle at least 60 inches (5 feet) wide Have a firm, stable, slip-resistant surface Maintain a maximum slope of 1:48 (approximately 2%) in all directions Van-Accessible Spaces Van-accessible spaces must provide additional room for wheelchair lifts and ramps. Two common ADA-compliant configurations include: 96-inch parking space + 96-inch access aisle 132-inch parking space + 60-inch access aisle Van-accessible spaces must also provide at least 98 inches of vertical clearance where applicable. Access Aisles Access aisles are the striped areas adjacent to accessible parking spaces. ADA requirements include: Full length of the parking space Same level as the parking space Maximum slope of 1:48 Clearly marked to discourage parking Connected to an accessible route In many layouts, two accessible spaces may share a single access aisle. Accessible Routes to the Building One of the most commonly overlooked ADA requirements is the accessible route connecting parking spaces to the building entrance. Accessible routes must: Connect accessible parking to an accessible entrance Be free of stairs and curbs unless ramps are provided Be at least 36 inches wide Have a firm, stable, slip-resistant surface Accessible parking should be located on the shortest accessible route to the entrance it serves. Signage Requirements Every accessible parking space must be properly identified. Meeting ADA parking signage requirements helps users locate accessible stalls and supports enforcement. Improper or missing ADA parking signage requirements are frequent sources of citations. Standard Accessible Spaces International Symbol of Accessibility Sign mounted at least 60 inches above the ground to the bottom of the sign Van-Accessible Spaces International Symbol of Accessibility "Van Accessible" designation Mounted at least 60 inches above the ground Improper signage is one of the most common ADA compliance issues found in commercial parking lots. Slope Requirements Accessible parking spaces and access aisles must be nearly level. The ADA requires: Maximum slope of 1:48 (approximately 2%) Excessive slopes can create challenges for wheelchair users and may result in noncompliance even when striping and signage appear correct. Common ADA Parking Lot Violations Businesses often encounter compliance issues involving: Insufficient accessible parking spaces Missing van-accessible spaces Improper signage Excessive slopes Missing access aisles Inaccessible routes to entrances Faded pavement markings Drainage modifications that create excessive cross-slopes Many violations occur after parking lot resurfacing or restriping projects if ADA requirements are not reviewed during design and construction. When Should ADA Compliance Be Evaluated? Property owners should review ADA compliance when: Building a new parking lot Expanding a facility Resurfacing asphalt Restriping parking areas Renovating buildings Acquiring commercial properties Parking lot improvements often create an ideal opportunity to address accessibility issues before they become larger concerns. Building a Safer and More Accessible Parking Lot ADA compliance is an important part of responsible property ownership and facility management. Beyond meeting legal requirements, accessible parking lots create a safer and more welcoming experience for customers, employees, tenants, and visitors. By following ADA parking requirements for businesses—covering how many ADA parking spaces required, ADA parking space dimensions, and ADA parking signage requirements—you can streamline projects and minimize risk in ada parking lots.  For businesses planning new construction, pavement improvements, or parking lot renovations, evaluating ADA requirements early in the project can help avoid costly modifications and ensure the facility remains accessible for years to come.
By Sofia Wojtal June 3, 2026
What Is Sealcoating? Sealcoating is the application of a protective coating over an asphalt pavement surface. The coating helps protect asphalt from: Water infiltration UV exposure Oxidation Vehicle fluids Weather-related deterioration Everyday wear and tear Sealcoating is considered a preventative maintenance treatment rather than a structural repair. It helps preserve pavement condition but does not correct significant cracking, potholes, or base failures. General Sealcoating Guidelines Most pavement professionals recommend setting a parking lot sealcoating frequency and following it with inspections. New Asphalt Pavement New asphalt is typically allowed to cure before the first sealcoat application, usually: Approximately 6 to 12 months after installation This allows excess oils to dissipate while still protecting the pavement early in its lifecycle according to a sensible asphalt sealcoating timeline. Commercial Parking Lots Many commercial properties benefit from sealcoating every: 2 to 5 years The exact interval depends on traffic volume, environmental exposure, and pavement condition. Annual inspections help determine how often to seal coat asphalt for your site. Temperature and Season For best results, apply when temperatures are at least 50°F (10°C) and rising, with no rain in the forecast and adequate drying time. If it’s colder than this, especially if nighttime lows dip below 50°F, it’s generally too cold to seal a driveway or lot. Scheduling during the best time to sealcoat asphalt improves curing and longevity. Factors That Affect Sealcoating Frequency Several variables influence how often a parking lot should be sealcoated and the best time to apply sealer. These factors help refine your parking lot sealcoating frequency and clarify how often should asphalt be sealed in different climates. Traffic Volume Lots serving: Retail customers Delivery vehicles Service fleets Industrial operations often experience faster deterioration than lower-traffic properties and may need resealing closer to the 2-year mark. Climate and Weather Conditions Environmental factors include: Intense UV exposure Freeze-thaw cycles Heavy rainfall Snow and ice Temperature fluctuations Harsher climates may require more frequent maintenance and careful scheduling during warmer months to align with a practical asphalt sealcoating timeline. Pavement Age and Condition Older asphalt surfaces are more susceptible to oxidation and cracking. Sealcoating works best on structurally sound pavement, often after completing: Crack sealing Patching Surface repairs Signs Your Parking Lot May Need Sealcoating Fading Color Healthy asphalt appears dark and rich; oxidation turns it gray, dull, and weathered. Minor Surface Cracking Small cracks indicate the pavement is losing flexibility—address them before they spread. Surface Wear Look for surface abrasion, aggregate exposure, and increased roughness in high-traffic areas. Water Absorption If water no longer beads and quickly absorbs, the protective surface is likely deteriorating. What Sealcoating Does Not Fix Sealcoating does not correct: Alligator cracking Structural failures Potholes Major settlement Base failures These conditions may require patching, resurfacing, or reconstruction. Frequently Asked Questions How often should I sealcoat an asphalt parking lot? Most lots are resealed every 2 to 5 years, adjusted for traffic, climate, and condition. High-traffic sites typically need shorter intervals. This guidance helps answer how often should asphalt be sealed for commercial properties. How often are parking lots resealed? As a general rule, commercial parking lots are resealed on a 2- to 5-year cycle, with inspections annually to fine-tune timing and confirm your parking lot sealcoating frequency. How cold is too cold to seal a driveway? Below about 50°F (10°C) and falling is too cold. Aim for pavement and air temperatures at or above 50°F and rising for at least 24 hours, with dry weather. Choosing the best time to sealcoat asphalt supports proper curing. Should cracks be repaired before sealcoating? Yes. Crack sealing and localized repairs should be completed first to maximize protection and performance and extend the asphalt sealcoating timeline between applications. Protecting Your Pavement Investment Sealcoating is a relatively small investment compared to resurfacing or replacement. When combined with routine inspections, crack sealing, and proactive maintenance, it extends pavement life, improves appearance, and reduces long-term costs. Establish a realistic resealing interval, define how often to seal coat asphalt for your site, and schedule work during appropriate temperatures to keep your program effective and aligned with your parking lot sealcoating frequency.
By Sofia Wojtal June 3, 2026
Why Safety Matters When Choosing a Contractor Safety impacts nearly every aspect of a construction project. Strong safety performance can help: Reduce workplace incidents Minimize project disruptions Improve workforce productivity Protect project schedules Reduce liability risks Strengthen quality control Many owners view a construction company safety record as an indicator of how well a contractor manages projects overall. Look Beyond “Safety First” Statements Most construction companies promote safety as a core value, but owners should evaluate objective evidence rather than relying solely on company messaging. Instead of asking whether safety is important, ask how the contractor measures and manages their construction safety record and what appears on their construction safety audit checklist. Review OSHA Safety Metrics One of the most common ways to evaluate contractor safety is through industry-standard performance metrics. Total Recordable Incident Rate (TRIR) OSHA’s Total Recordable Incident Rate (TRIR) is the number of OSHA-recordable incidents per 100 full-time workers. TRIR is calculated as: (Number of OSHA-recordable cases × 200,000) ÷ Total hours worked by all employees in the year. The 200,000 figure represents 100 employees working 40 hours per week for 50 weeks. Incidents that count toward TRIR include work-related cases requiring medical treatment beyond first aid, days away from work, restricted work or transfer, loss of consciousness, significant diagnosed injuries or illnesses, and fatalities. A lower TRIR generally indicates stronger safety performance. What is a good TRIR varies by industry; owners should compare a contractor’s TRIR to current BLS industry averages for similar construction sectors and scopes. Many owners review TRIR at least annually and monitor trends quarterly to catch issues early. Days Away, Restricted, or Transferred (DART) Rate The DART rate tracks incidents that result in: Lost workdays Restricted duties Job transfers This metric provides additional insight into incident severity and complements a contractor’s construction safety record. As with TRIR, compare against relevant industry benchmarks and review trends regularly. Evaluate Experience Modification Rate (EMR) The Experience Modification Rate (EMR) is commonly used by insurance providers to assess risk. An EMR of: 1.0 represents the industry average Below 1.0 generally indicates better-than-average safety performance Above 1.0 may indicate a higher incident history Many owners request EMR information during contractor prequalification to validate the overall construction safety record. Ask About Safety Training Programs Strong safety performance is often supported by ongoing workforce training. Questions to ask include: How frequently is safety training conducted? Are new employees required to complete onboarding programs? What specialized certifications do field personnel maintain? How are subcontractors trained and managed? Contractors that invest heavily in training often demonstrate stronger safety cultures and a better construction company safety record. Assess Leadership Commitment to Safety Safety culture starts with leadership. Look for evidence that company leadership is actively involved in: Safety planning Site visits Incident reviews Workforce engagement Continuous improvement initiatives Organizations where safety is visibly supported by leadership often achieve stronger long-term results reflected in their construction safety record. Review Site-Specific Safety Planning Every project presents unique risks. Experienced contractors typically develop: Site-specific safety plans Job hazard analyses Emergency response procedures Activity hazard assessments Daily safety meetings Project-specific planning demonstrates a proactive approach to risk management and aligns with a robust construction safety audit checklist. Understand How the Company Manages Subcontractors Many projects involve multiple subcontractors working simultaneously. Owners should ask: How are subcontractors prequalified? Are subcontractors required to meet safety standards? How is safety enforced across all project teams? Who is responsible for site-wide safety coordination? Effective subcontractor management is often critical to overall project safety performance and a consistent construction company safety record. Look for Evidence of a Strong Safety Culture Safety metrics tell part of the story, but culture is equally important. Indicators of a strong safety culture may include: Employee participation programs Near-miss reporting systems Recognition programs Open communication about safety concerns Continuous improvement initiatives Companies with strong cultures often encourage workers to identify and address risks before incidents occur, improving their construction safety record over time. Evaluate Experience With Similar Projects A contractor may have excellent safety performance in one sector but limited experience in another. Owners should consider whether the contractor has completed projects involving: Industrial facilities Water and wastewater infrastructure Utility systems Renewable energy projects Transportation infrastructure Active operational environments Relevant experience can improve hazard recognition and project-specific safety planning. Questions to Ask During Contractor Selection What are your current TRIR and DART rates? These metrics provide insight into recent safety performance. Request TRIR for construction companies that are comparable in scope and geography, and ask how often they review TRIR (at least annually, with quarterly trend reviews recommended). What is your EMR? Many owners use EMR as part of contractor prequalification. How do you train employees and supervisors? Training programs often reflect a contractor's investment in safety. How do you manage subcontractor safety? Subcontractor oversight is critical on complex projects and should be reflected in the construction safety audit checklist. Can you provide examples of recent safety initiatives? This can help demonstrate whether safety is actively managed or simply discussed. Warning Signs to Watch For Potential concerns may include: Reluctance to share safety metrics Lack of formal training programs Poor documentation practices High employee turnover Limited project-specific planning Inconsistent safety expectations These issues may indicate weaknesses in safety management systems and an unreliable construction company safety record. Frequently Asked Questions What is the OSHA TRIR score? TRIR is OSHA’s Total Recordable Incident Rate, expressing OSHA-recordable cases per 100 full-time workers to standardize safety performance across contractors. How is the total recordable incident rate (TRIR) calculated? TRIR = (Recordable cases × 200,000) ÷ Total hours worked in the year. What incidents count toward a company's TRIR? Work-related injuries or illnesses requiring medical treatment beyond first aid, days away from work, restricted duty or transfer, loss of consciousness, significant diagnosed cases, and fatalities. What is a good or acceptable TRIR for an industry? “Good” depends on the sector. Aim for a TRIR at or below the latest BLS average for the relevant construction niche; top performers are often well below their sector average. How often should TRIR be reported or reviewed? At minimum annually, with quarterly or monthly internal reviews to monitor trends and drive corrective actions. Why Safety Should Be Part of Every Contractor Evaluation A contractor's construction safety record provides valuable insight into how they manage risk, train employees, plan work, and execute projects in the field. While cost, schedule, and technical expertise remain important, safety often influences every aspect of project performance.  By evaluating safety metrics, including TRIR for construction companies, training programs, leadership involvement, and overall safety culture—and by reviewing a construction safety audit checklist—owners can make more informed decisions and select construction partners positioned to deliver successful projects while protecting workers, communities, and critical infrastructure.
By Sofia Wojtal June 3, 2026
Why Choosing the Right Water Storage Tank Builder Matters Water storage tanks are long-term infrastructure investments. Unlike many building projects, water tanks must meet strict requirements for: Structural integrity Water quality protection Regulatory compliance Operational reliability Long-term durability Construction quality and attention to detail from a qualified water storage tank builder can influence maintenance costs and service life for decades after completion. What Types of Water Storage Tanks Are Commonly Built? Water storage projects may include: Elevated Water Tanks Commonly used to: Maintain system pressure Support fire protection Serve growing communities Ground Storage Reservoirs Often used for: Water treatment facilities Distribution systems Industrial operations Composite Tanks These structures combine concrete and steel components to optimize performance and maintenance requirements, often delivered by a water tank construction company with steel water tank construction expertise. Industrial Water Storage Tanks Used by manufacturing, energy, and industrial facilities to support operational processes and utility systems. Different tank types require different construction expertise, equipment, and engineering approaches from an elevated water tank contractor or similar specialist. Key Factors to Evaluate When Selecting a Water Storage Tank Builder Utility and Water Infrastructure Experience One of the most important qualifications is experience with water infrastructure projects. Owners often evaluate: Municipal water projects Utility infrastructure experience Similar tank construction projects Water treatment facility experience Distribution system knowledge Contractors familiar with utility environments often better understand the operational and regulatory requirements involved. Experience With Similar Tank Types Not all tank builders specialize in every type of storage structure. Before selecting a contractor, consider asking: Have you built elevated tanks as an elevated water tank contractor? Do you perform steel water tank construction and concrete reservoirs? What similar projects have you completed? Can you provide relevant project examples? Relevant experience can help reduce project risk and improve execution, especially with a water tank construction company that self-performs key scopes. Safety Performance Water tank construction often involves: Work at significant heights Crane operations Concrete placement Structural steel installation Confined space work Strong contractors typically maintain: Comprehensive safety programs Ongoing workforce training Detailed project safety planning Strong safety performance metrics Safety performance often serves as an indicator of broader operational discipline. Quality Control and Construction Standards Water storage facilities must meet strict performance and durability requirements. Quality considerations may include: Material testing procedures Inspection programs Coating system expertise Concrete quality control Welding certifications Strong quality management processes from a qualified water storage tank builder help ensure long-term reliability. Self-Perform Construction Capabilities Some infrastructure contractors self-perform portions of their work using their own field crews. Potential self-performed scopes may include: Concrete construction Site development Utility work Structural installation Civil infrastructure Self-perform capabilities can improve coordination and provide greater control over critical project activities during steel water tank construction. Site Development and Utility Coordination Expertise Water storage tanks rarely exist as standalone projects. Construction often involves: Site grading Underground utilities Water main connections Electrical systems Access roads Drainage infrastructure A contractor with broader infrastructure experience—such as a full-service water tank construction company—may be able to better coordinate these interconnected systems. Practical FAQs Owners Ask How long will a 500-gallon water tank last? It depends on usage. At 50 gallons per day, a 500-gallon tank lasts about 10 days; at 100 gallons per day, around 5 days. For emergency household use (2–3 gallons per person per day), a family of four could expect roughly 40–60 days. What is the best material for a water storage tank? For municipal and industrial applications, welded or bolted steel with high-performance coatings is often preferred for strength, longevity, and large capacities. Concrete is excellent for large ground reservoirs and composite designs. For small systems, fiberglass and polyethylene offer corrosion resistance and lower cost. The “best” choice depends on capacity, water quality, site, lifecycle cost, and maintenance. What are common problems with reservoir tanks? Typical issues include corrosion of steel components, coating failures, leaks at joints or penetrations, sediment buildup, biological growth without proper disinfection, freeze/thaw damage, inadequate mixing causing stratification, and instrumentation or valve failures. Quality construction and proactive maintenance reduce these risks. Questions to Ask Before Hiring a Water Storage Tank Builder What water tank projects have you completed? Past performance on similar projects can provide valuable insight into contractor capabilities. Can you support site development and utility infrastructure? Many water tank projects involve significant civil construction in addition to tank installation. How do you manage quality assurance? Water storage structures require long-term durability and reliability. What is your safety record? Evaluating safety performance can help owners assess operational maturity and risk management practices. How do you handle project scheduling and coordination? Communication and planning often play a major role in successful project delivery. Why Early Contractor Involvement Can Add Value Bringing a construction partner into the planning process early can help owners: Improve budget accuracy Identify constructability concerns Optimize site layouts Support procurement planning Reduce schedule risk Early collaboration with an elevated water tank contractor or comprehensive water tank construction company often creates a more predictable path from design through construction. Building Reliable Water Infrastructure for Future Generations Water storage tanks play a vital role in supporting public health, emergency preparedness, and community growth. Because these structures are designed to serve communities for decades, selecting the right builder is a critical decision.  The most successful projects often begin with experienced partners who understand utility systems, prioritize safety and quality, and can effectively coordinate the many elements required to deliver reliable water infrastructure. Choosing a proven water storage tank builder ensures your project benefits from specialized expertise and accountable execution from start to finish.
By Sofia Wojtal June 3, 2026
What Is a Pile Driving Contractor? A pile driving contractor is a specialized foundation contractor who installs deep foundation elements—piles—into soil or rock to support structures. In marine settings, these firms use barges, cranes, and hammers to drive steel, concrete, timber, or sheet piles for docks, wharves, bulkheads, piers, bridges, and waterfront facilities. What Services Do Pile Driving Contractors Provide? Typical services include: Preconstruction planning, constructability reviews, and value engineering Geotechnical collaboration and test pile programs Installation of steel pipe, precast concrete, timber, and sheet piles Vibratory and impact driving, predrilling, and splicing Load testing and quality control/assurance documentation Environmental compliant pile driving, turbidity control, and species protection measures Related scopes such as bulkhead installation, marine earthwork, and structural concrete Qualifications and Certifications to Look For When comparing contractors, owners should evaluate more than equipment availability or pricing. Look for: Marine construction experience: ports and terminals, waterfronts, and similar pile projects Specialized equipment: pile driving and crane barges, vibratory and impact hammers, marine platforms Self-perform capabilities for pile driving and related scopes Safety performance: documented marine safety programs, training, incident rates, and emergency response planning Environmental compliance expertise: permitting, water quality protections, turbidity controls, and protected species coordination Professional qualifications: licensed contractors, certified crane operators, welding certifications, safety certifications (e.g., OSHA, MSHA as applicable), and compliance with relevant maritime regulations How Do Pile Driving Contractors Estimate Project Costs? Estimating is based on a combination of engineering data and constructability factors. Contractors typically consider: Geotechnical reports: soil profiles, required tip elevations, and anticipated driving resistance Pile type, size, and quantity: steel, precast concrete, timber, or sheet piles and associated fabrication costs Installation methods and production rates: vibratory vs. impact driving, predrilling, splicing, and testing Marine logistics: mobilization/demobilization of barges and cranes, access constraints, tides, currents, and weather windows Environmental requirements: turbidity barriers, monitoring, work windows, and mitigation measures Schedule and risk contingencies: allowances for subsurface variability, change in equipment, and standby due to conditions What Is Marine Pile Driving? Marine pile driving is the process of installing deep foundation elements into underwater or shoreline soils to support marine structures. Commercial marine pile installation is performed using specialized rigs, barges, and hammers suited to water-based operations. Pile systems commonly support ports and terminals, docks and wharves, bulkheads and seawalls, ferry facilities, bridge structures, industrial waterfronts, cargo infrastructure, and river and harbor improvements. Depending on requirements, piles may be installed from land, barges, temporary platforms, or vessels. Types of Piles Used in Marine Construction Steel Pipe Piles Common on port terminals and heavy industrial facilities, offering high load capacity and durability. Concrete Piles Precast piles for docks, piers, and waterfront structures provide corrosion resistance and long service life; concrete pile driving contractors bring the expertise needed. Timber Piles Used selectively for lighter-duty or rehabilitation work. Sheet Piles Installed for bulkheads, retention, shoreline protection, and excavation support to stabilize waterfront areas. Key Evaluation Questions for Contractors What marine pile driving projects have you completed? What pile types and methods do you commonly install? Do you own and maintain your marine equipment? How do you plan and document environmental compliance? Can you self-perform related marine scopes to streamline delivery? Building Strong Foundations for Marine Infrastructure Ports, terminals, and waterfront facilities rely on durable foundations to support long-term operations. By assessing experience, specialized equipment, self-perform strengths, environmental and safety qualifications, and transparent cost estimating practices, owners can select marine pile driving contractors and concrete pile driving contractors committed to environmental compliant pile driving and reliable project delivery.
By Sofia Wojtal June 3, 2026
What Is Aeration in Wastewater Treatment? Aeration is the process of introducing oxygen into wastewater during biological treatment. The added oxygen supports microorganisms that consume and break down organic pollutants found in wastewater. These microorganisms help remove: Organic waste Suspended solids Nutrients Biological contaminants Aeration is commonly used in activated sludge systems and other biological treatment processes throughout municipal and industrial wastewater facilities. Why Is Oxygen Important in Wastewater Treatment? The microorganisms responsible for biological treatment require oxygen to survive and function effectively. When sufficient oxygen is available, these microorganisms can: Break down organic matter Reduce biochemical oxygen demand (BOD) Improve treatment efficiency Support nutrient removal processes Without adequate oxygen levels, treatment performance can decline and water quality may suffer. How Aeration Equipment Works Aeration equipment transfers oxygen from the air into wastewater. This process generally occurs inside large treatment basins called aeration tanks or aeration basins . The system continuously supplies oxygen while mixing wastewater to ensure microorganisms remain active throughout the treatment process. Common Types of Aeration Equipment Several types of wastewater aeration systems are used in wastewater facilities. Diffused Aeration Systems Diffused aeration is one of the most common methods used in municipal treatment plants. These systems include: wastewater aeration blowers Piping systems fine bubble diffusers located at the bottom of treatment basins As air passes through the fine bubble diffusers, fine bubbles transfer oxygen into the wastewater. Benefits include: High oxygen transfer efficiency Consistent treatment performance Flexibility for varying flow conditions Mechanical Aerators Mechanical aerators use rotating equipment to introduce oxygen and mix wastewater simultaneously. Examples include: Surface aerators Floating aerators Turbine aerators These systems are often used in lagoons and certain industrial applications. Jet Aeration Systems Jet aeration combines air and liquid movement to improve oxygen transfer and mixing. Jet aeration systems may be used when treatment facilities require both oxygenation and enhanced circulation. Benefits of Aeration Equipment in Wastewater Systems Aeration supports several important treatment objectives. Improves Biological Treatment Performance Oxygen allows microorganisms to efficiently consume organic contaminants and improve overall treatment effectiveness. Supports Regulatory Compliance Many wastewater facilities must meet strict discharge requirements. Proper aeration helps plants achieve: Lower biochemical oxygen demand (BOD) Reduced total suspended solids (TSS) Improved nutrient removal Improves Water Quality Aeration contributes directly to cleaner effluent and healthier receiving waterways. Reduces Odors When oxygen levels become too low, wastewater can develop undesirable odors associated with anaerobic conditions. Maintaining adequate aeration helps minimize odor issues. Supports Nutrient Removal Many advanced treatment facilities use aeration systems as part of biological nutrient removal (BNR) processes. These systems help reduce: Nitrogen Ammonia Other nutrients that may impact water quality Why Aeration Is One of the Largest Energy Users in a Wastewater Plant Aeration systems often represent the largest energy demand within a wastewater treatment facility. This is because: Large wastewater aeration blowers operate continuously Oxygen requirements vary throughout the day Treatment facilities process significant volumes of water Utilities frequently invest in aeration upgrades to improve energy efficiency and reduce operating costs. Common Aeration System Upgrades As treatment plants modernize infrastructure, aeration improvements often become a priority. Common upgrades include: High-efficiency wastewater aeration blowers Fine-bubble diffuser systems using fine bubble diffusers Automated controls SCADA integration Dissolved oxygen monitoring systems These improvements can help optimize performance while reducing energy consumption. Construction Considerations for Aeration Projects Installing or upgrading wastewater aeration equipment often requires coordination within active treatment facilities. Projects may involve: Basin modifications Mechanical equipment installation Electrical upgrades Control system integration Process piping improvements Because treatment plants must remain operational during construction, phased implementation is often necessary. Experienced infrastructure teams carefully coordinate upgrades to minimize disruptions to ongoing treatment operations. Frequently Asked Questions What happens if a wastewater treatment plant loses aeration? Without sufficient oxygen, biological treatment performance can decline rapidly, leading to reduced contaminant removal and potential permit compliance issues. Is aeration used in all wastewater treatment plants? Many municipal treatment facilities use aeration as part of biological treatment, though system configurations vary based on treatment goals and facility design. Why are aeration basins so large? Large basins provide sufficient time and volume for microorganisms to break down contaminants while maintaining treatment efficiency. Supporting Reliable Wastewater Treatment Wastewater aeration equipment is one of the most critical components of modern wastewater treatment systems. By supplying oxygen to beneficial microorganisms through jet aeration systems, fine bubble diffusers, and wastewater aeration blowers, these wastewater aeration systems enable the biological processes that help protect public health, improve water quality, and support environmental compliance.  As wastewater facilities continue investing in modernization and efficiency improvements, wastewater aeration equipment and advanced jet aeration systems will remain a key focus for utilities seeking to optimize performance and meet the needs of growing communities with reliable wastewater aeration equipment and well-designed wastewater aeration systems.
By Sofia Wojtal June 3, 2026
What Is a Municipal Water Pipeline? A municipal water pipeline is a network of underground pipes that transports treated drinking water throughout a community. Municipal water pipeline construction brings together engineering, permitting, and field execution to deliver safe, reliable service. Successful municipal water pipeline construction depends on careful planning, experienced teams, and rigorous quality control. Water pipelines may serve several purposes, including: Delivering water from treatment plants to storage facilities Connecting water towers and reservoirs Expanding service to growing communities Replacing aging infrastructure Improving system reliability and redundancy Supporting industrial and commercial development Depending on the project, pipelines may range from smaller distribution mains to large-diameter transmission lines spanning multiple miles. Understanding the types of water main pipes and how they perform guides material selection during municipal water pipeline construction. Common municipal water line materials include ductile iron, PVC, HDPE, and steel, with selection based on pressure, soil chemistry, seismic conditions, and lifecycle costs. Evaluating the types of water main pipes early helps align performance, budget, and maintenance goals. Step 1: Planning and System Evaluation Every successful pipeline project begins with planning. Municipalities and utilities evaluate: Current water demand Future population growth Existing infrastructure conditions System capacity limitations Water pressure requirements Reliability and redundancy needs These studies help determine the size, route, and overall purpose of the new pipeline, as well as the types of water main pipes most appropriate for the environment and service conditions. Step 2: Route Selection and Site Investigation Once the project scope is established, engineers evaluate potential pipeline routes. Route planning considers: Existing utility corridors Easement requirements Roadways and rights-of-way Environmental constraints Topography Existing infrastructure conflicts Future development plans Site investigations can include geotechnical studies to evaluate soil conditions and constructability. Selecting the right route significantly affects project cost and long-term maintenance requirements during municipal water pipeline construction. Step 3: Engineering and Design After route selection, detailed engineering begins. Hydraulic Analysis Flow requirements Water pressure System capacity Future demand projections Civil Design Pipeline alignment Utility crossings Access requirements Restoration activities Structural Design Vaults Pump stations Thrust restraint systems Specialty structures Detailed design ensures the pipeline meets operational and regulatory requirements and aligns with the capabilities of experienced water main installation contractors. Early input from water main installation contractors helps optimize constructability, schedule, and cost. Step 4: Permitting and Regulatory Approvals Municipal water projects often require approvals from multiple agencies before construction begins. Permitting may include environmental reviews, water utility approvals, roadway and stormwater permits, railroad crossing approvals, and state regulatory requirements. Because timelines affect schedules, early coordination is critical. Step 5: Utility Coordination Identifying and coordinating around existing utilities is essential. Projects frequently encounter gas lines, electrical infrastructure, telecommunications systems, sewer lines, stormwater infrastructure, and existing water mains. Utility conflicts can significantly affect construction sequencing and schedule planning. Step 6: Site Preparation and Excavation Crews prepare the corridor with traffic control, utility locating, site clearing, temporary access, and excavation. Excavation methods vary with soil conditions, required depth, utility congestion, and environmental constraints. Safety planning is especially important during trenching operations. Step 7: Pipe Installation After excavation, crews install the pipeline, including pipe placement, joint assembly, valves, fittings, and thrust restraint. Municipal water lines are commonly made of ductile iron, PVC, HDPE, or steel. Material selection depends on system pressure, soil conditions, corrosion risk, and project goals. Typical burial depth for municipal water lines varies by climate and code but commonly ranges from roughly 3 to 6 feet below grade, deeper where necessary to protect from freezing, traffic loads, and other hazards. Step 8: Testing and Disinfection Pressure and Leakage Testing Tests verify the pipeline can safely withstand operational conditions and confirm integrity. Crews conduct pressure testing water mains in accordance with standards to validate strength and tightness. Properly pressure testing water mains is critical before connecting the new line to the active system. Disinfection New drinking water pipelines are disinfected to ensure water quality standards are met before commissioning. Step 9: Restoration and Site Improvements Following installation, teams restore impacted areas, including pavement, sidewalks, landscaping, erosion control, traffic signals, and other surface improvements. Step 10: Commissioning and System Integration Once testing and restoration are complete, the new pipeline is integrated into the municipal water system through operational testing, valve sequencing, pressure monitoring, system balancing, and final utility coordination. Common Challenges in Municipal Water Pipeline Projects Aging Utility Infrastructure Existing underground utilities can create conflicts and increase construction complexity. Traffic Management Many projects occur within active roadways and dense urban environments. Environmental Constraints Wetlands, waterways, and protected areas may require special methods and mitigation. Maintaining Water Service Utilities must often maintain uninterrupted service while connecting new infrastructure. Challenges to Long-Distance Potable Water Pipelines in the U.S. Building long-distance pipelines faces additional hurdles: complex multi-jurisdictional permitting; environmental review and water rights issues; high capital and energy costs for pumping over long distances and elevation changes; limited corridors and right-of-way acquisition; supply reliability and drought variability; and community impacts that extend construction timelines. Frequently Asked Questions How long does it take to build a municipal water pipeline? Schedules vary with project length, utility conflicts, permitting requirements, and site conditions. What are municipal water lines made of? Common materials include ductile iron, PVC, HDPE, and steel, selected based on pressure, soil conditions, corrosion protection, and lifecycle costs. Choosing among the types of water main pipes should consider long-term maintenance and resilience. How deep are municipal water lines buried? Depths typically range from about 3 to 6 feet, adjusted for frost depth, traffic loads, soil conditions, and local codes. Why are water pipeline projects so disruptive? Because pipelines are installed underground, construction often requires excavation, traffic control, utility coordination, and restoration activities. Supporting Growing Communities Through Water Infrastructure Municipal water pipelines are foundational to community growth, public health, and economic development. While much of the work occurs below ground, these projects require extensive planning, engineering, and construction expertise to ensure reliable service for decades to come. As communities expand and infrastructure needs evolve, investing in modern water pipeline systems—and partnering with experienced contractors—helps create a stronger foundation for future growth while supporting the essential services residents rely on every day.
By Sofia Wojtal June 3, 2026
Start with Your Long-Term Business Goals Before evaluating floor plans or construction costs, it's important to understand what the office needs to accomplish. How many employees will occupy the space? What growth is anticipated over the next 5 to 10 years? Will hybrid work arrangements continue? What types of collaboration spaces are needed? How will customers or visitors interact with the facility? A building that supports future growth can help reduce the need for costly renovations or relocations later. Choose the Right Site Site selection is one of the most important decisions in the entire project. Accessibility for employees and visitors Traffic patterns Parking availability Visibility and branding opportunities Utility access Zoning requirements Future development in the surrounding area The right location should support both operational needs and long-term business objectives. Establish a Realistic Budget Construction costs represent only part of the total investment when building a new office space. Owners should evaluate the full cost to build an office building, including: Land acquisition Site development Utility infrastructure Design and engineering fees Permitting costs Furniture and equipment Technology systems Moving and occupancy expenses Developing a comprehensive project budget early can improve decision-making throughout the commercial office construction process and clarify the true cost to build an office building. Think Beyond Today’s Office Layout Workplace expectations continue to evolve. Flexible workspaces Open collaboration areas Private focus rooms Meeting and training spaces Wellness areas Outdoor gathering spaces The most successful buildings balance collaboration, productivity, and adaptability through smart office space planning. Plan for Technology Infrastructure Early Technology requirements can significantly influence building design. Network infrastructure Wireless connectivity Security systems and access control Video conferencing capabilities Smart building technologies Audio-visual systems Planning technology systems early can help avoid costly modifications during construction. Prioritize Employee Experience Office design can directly impact satisfaction and productivity. Natural lighting and indoor air quality Workspace flexibility Break areas and collaboration environments Ergonomic considerations Creating an attractive, functional workplace supports recruitment and retention. Understand Parking and Site Requirements Parking requirements vary by municipality, building type, and occupancy levels. Stormwater management Landscaping requirements Pedestrian access Loading areas Emergency vehicle access Site development costs can sometimes have a larger impact on budgets than owners expect when building a new office space. Evaluate Sustainability and Energy Efficiency Many organizations seek ways to reduce operating costs and support sustainability goals. Energy-efficient HVAC systems High-performance envelopes LED lighting Renewable energy integration Water conservation measures Smart building controls Efficient systems can help reduce long-term operating expenses. Choose Delivery and Engage Partners Early The project delivery approach can significantly affect schedule, cost, and communication in the commercial office construction process. Common options include design-bid-build, construction management, and design-build. For many office projects, design-build can improve collaboration, accelerate schedules, and provide a single point of accountability. Why Early Contractor Involvement Matters Bringing a construction partner in early offers clear early contractor involvement benefits before design is finalized. Early contractor involvement benefits may include: Improved budget accuracy and procurement planning Identification of constructability concerns Optimized site development and phasing Reduced redesign efforts and change orders Collaboration during planning creates a more predictable experience when building a new office space. Frequently Asked Questions How long does it take to build a new office building? Schedules vary based on project size, permitting requirements, site conditions, and delivery method within the commercial office construction process. What is the biggest mistake owners make when building office space? Designing only for current needs without office space planning for future growth and operational changes. Is design-build a good option for office construction? Many organizations choose design-build because it improves coordination between design and construction teams and can streamline delivery. Building an Office That Supports Long-Term Success A new office space is more than a building—it's an investment in the future. Successful projects require careful office space planning, thoughtful design, realistic budgeting, and a clear understanding of operational goals and the cost to build an office building.  By focusing on long-term business needs, employee experience, technology integration, early contractor involvement benefits, and the right project delivery strategy, organizations can create office environments that support growth and provide lasting value for years to come when building a new office space.
By Sofia Wojtal June 3, 2026
The body content of your post goes here. To edit this text, click on it and delete this default text and start typing your own or paste your own from a different source.
By Sofia Wojtal June 3, 2026
How Long Should a Commercial Parking Lot Last? The lifespan of an asphalt parking lot depends on traffic volume, vehicle weight, climate, drainage, pavement thickness, and maintenance history. With proper care, many lots remain serviceable for 15 to 25 years or longer. Neglecting preventative maintenance and delaying repairs shortens pavement life and increases the likelihood of commercial parking lot repaving. Signs You May Need Repaving Sign #1: Widespread Cracking A few isolated cracks can be sealed. However, multiple interconnected cracks, large crack networks, recurring cracks after repairs, and cracks appearing throughout the lot suggest a deeper issue. When cracking becomes extensive, resurfacing or repaving may be more cost-effective than continued patching. Sign #2: Alligator Cracking Alligator cracking looks like reptile skin and often indicates structural failure, weak base materials, water infiltration, or excessive loading. Because the structure is compromised, commercial parking lot repaving or reconstruction is frequently necessary. Sign #3: Frequent Potholes Occasional potholes can be patched. Recurring potholes often point to water intrusion, base failure, drainage problems, or advanced deterioration. If potholes keep returning, evaluate resurfacing or repaving. Sign #4: Standing Water and Drainage Problems Standing water after rain, ponding in wheel paths, erosion at edges, or water flowing toward buildings accelerates deterioration. Repaving projects may include grading and drainage improvements. Sign #5: Surface Raveling and Deterioration Raveling causes a rough, loose, worn, or faded surface that allows moisture intrusion. When extensive, resurfacing or repaving may be warranted. Sign #6: Fading and Oxidation Gray coloration, brittleness, increased cracking, and reduced flexibility signal oxidation. While oxidation alone may not require repaving, it compounds other issues. Sign #7: Numerous Patches If the lot is covered with patches for potholes, cracks, depressions, and surface failures, cumulative costs can approach resurfacing or repaving, making repaving a better long-term value. Sign #8: Uneven Surfaces and Settlement Depressions, low spots, uneven sections, trip hazards, and deformation often point to base issues that go beyond simple repair. Sign #9: Rising Maintenance Costs If annual maintenance costs keep rising, it may be time to evaluate resurfacing or repaving for better long-term value. Repaving vs. Resurfacing vs. Reconstruction Repairs Best for isolated cracks, small potholes, and minor surface damage. Resurfacing (Mill and Overlay) Best for surface deterioration, moderate cracking, and lots with a sound base. The process mills off the top layer and installs a new asphalt surface. Repaving Often used to describe installing new asphalt over a prepared base or after removing significant portions of the old pavement. It addresses broader surface and shallow structural issues. Full Reconstruction Best for extensive alligator cracking, base failures, significant drainage issues, and structural deterioration. Reconstruction replaces the pavement structure from the ground up when repaving alone won’t address base failures. What Is the Process of Repaving a Parking Lot? Assessment and planning: Inspect pavement, drainage, and base; define scope. Repairs and prep: Mill or remove failed areas, fix base, adjust drainage/grades. Paving: Place and compact new asphalt lifts to specified thickness. Finishing: Stripe, install wheel stops, adjust utilities, and clean up. Curing and reopen: Allow initial cooling; follow contractor guidance for traffic loads. How Often Do Parking Lots Need to Be Repaved? With routine maintenance (sealcoating, crack sealing, patching), many lots need resurfacing or repaving roughly every 15–25 years. High-traffic, heavy-load, or poor-drainage sites may need it sooner; well-designed, well-drained lots with proactive maintenance can last longer. Is Repaving a Parking Lot a Capital Improvement? In many jurisdictions and for accounting purposes, repaving that extends useful life, enhances value, or adapts the asset to a new use is treated as a capital improvement, while routine maintenance is expensed. Consult your tax professional for specific guidance. What’s the Difference Between Resurfacing and Repaving? Resurfacing: Milling and placing a new surface layer over a sound base to restore ride, appearance, and protection. Repaving: Installing new asphalt beyond a simple overlay, often after more extensive removal and base preparation; addresses wider deficiencies but stops short of full reconstruction. How a Contractor Evaluates Your Parking Lot Contractors assess pavement age, crack severity, drainage, traffic patterns, structural condition, and maintenance history to determine whether repair, resurfacing, repaving, or reconstruction is most appropriate. Protecting Your Pavement Investment Recognizing early signs of deterioration helps avoid larger costs and choose repaving when it offers the best return. By addressing issues proactively, prioritizing maintenance, and partnering with trusted commercial asphalt paving contractors, businesses can extend pavement life, improve curb appeal, and create a safer experience for customers, tenants, and employees.